How to Use Grammarly — An Easy Guide for the Perfectionists
Published: October 17, 2022
Do you need to draft and revise multiple times to get your writing right? Well, there’s an app to help you with that. This article we’ll demonstrate how to use Grammarly in other programs, how it works, and what it offers.
Grammarly is the most popular editor on the internet. It’s a fantastic tool for all types of writing, from correcting spelling errors to improving phrasing.
Keep reading.
What Does Grammarly Do?
Grammarly is one of the best grammar checkers out there.
Grammarly employs a type of artificial intelligence (AI) that detects formal grammar mistakes, poor phrasing, punctuation errors, excessive passive voice use, overly wordy sentences, and other issues.
In addition, it offers text-improvement suggestions and functions across multiple platforms.
The online editor works by ensuring that everything written is correctly spelt, straightforward, and easy to read. Moreover, Grammarly also evaluates readability. Namely, it provides a clarity score indicating how easy your text is to read.
While using Grammarly, it recommends a score of 60 or higher. Even if you fall below that, it’ll automatically suggest improvements. Furthermore, it includes an in-built dictionary to eliminate repetitions besides correcting spelling.
Best of all, a free version is available. They also offer paid subscription plans — Grammarly Premium with multiple added features, which costs $12.00 per month and a Business plan for $15.00 per month.
And according to most online Grammarly reviews, it’s especially useful for online content creators.
That said, we would like to see their beta and mobile app improved in the future as, at the moment, they only detect punctuation, spelling, and grammar errors.
Couple that with the fact that nearly all internet users use mobile phones in place of desktops, and you have a recipe for success.
How to Use Grammarly in Word?
Microsoft Word already has an in-built spell-checker. Nevertheless, Grammarly is much more powerful and easy to install.
So, if you’re looking for an excellent editor, here’s how you can use it!
Installation
To install it on your Windows OS, take the following steps:
- Access your Grammarly account
- Select the “Apps” option from the left-side toolbar
- Install the Grammarly add-on for Microsoft Office
- Start the installation wizard
- Run the file after you’ve downloaded the app
Note that you can install it both for Word and Outlook.
Once the installation is complete, the app will appear among other Microsoft apps, and you can begin using Grammarly for Word.
In case you use Word on a Mac OS, here’s how to install the Grammarly add-on:
- Launch Microsoft Word
- Navigate to the “Insert” menu
- Select “Get Add-ins or Store”
- Enter Grammarly into the search box and click “Add”
Once finished, you’ll insert the Grammarly tab into Word, and you can use Grammarly on your Mac.
Settings and Usage
Of course, you need an Internet connection to Grammarly for Outlook and Word. Furthermore, Grammarly has recently added a human proofreading option, so you can place orders through the Grammarly extension by clicking “Get Expert Writing Help.”
Open Word and look at the top menu to find the Grammarly tab. To begin seeing suggestions, click the “Enable Grammarly” button.
The Grammarly sidebar will appear once you click the “Open Grammarly” button. You can set writing goals there, and your tone and formality.
Additionally, you can select the types of errors you want the writing assistant to look for, turn on the in-built plagiarism checker, and so on. You can choose to enable certain checks or receive style and grammar advice.
How to Use Grammarly in Chrome?
Since Google Chrome was founded in 2008, Grammarly has been the best grammar checker for said browser as it proofreads your online texts wherever you write.
These are the steps to get Grammarly to follow you around with Chrome.
Installation
Grammarly is available as an extension from the Chrome Web Store.
Hence, you first need to navigate the Chrome Web Store and select “Extensions” to get the add-on. Then, open the Grammarly listing and select “Add to Chrome.” After that, you can use the grammar checker online on any site.
Settings and Usage
When installing the extension, the Grammarly icon will appear in the top bar. Click it to confirm whether you want Grammarly to check your Google Docs automatically.
You can even choose an automatic spelling correction — if the editor detects any misspelt words, there’s an option to correct them immediately. Note that you need Grammarly Premium to access the auto-spell corrections.
Also, remember to set your language preference — the correct grammar choice may differ between American, British, and Australian English.
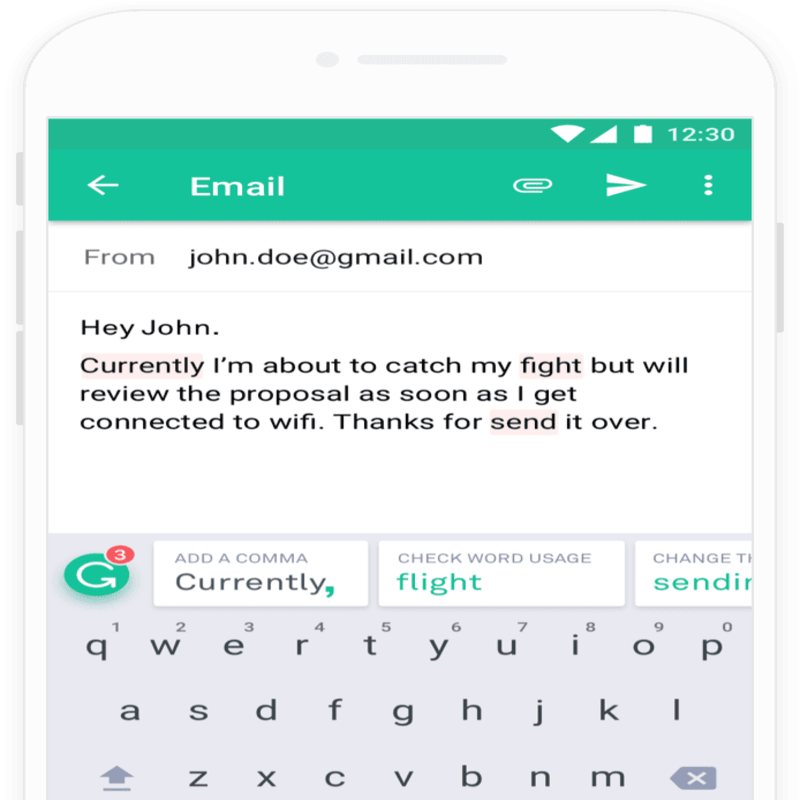
Grammarly extension for Chrome will check everything you type online. For instance, if you’re writing an email, the Grammarly logo will appear in the bottom right corner.
As you type, the number of mistakes will be displayed next to the logo, and each one will be highlighted in the text. By hovering the mouse over the errors, you can get suggestions on how to fix them. Then, click on the correction to accept it.
Privacy is also not a concern with Grammarly as it isn’t a keylogger program, although it checks all text fields. In other words, it won’t save any passwords; it’ll simply assist you in becoming a better writer.
How to Use Grammarly in Google Docs?
Many people use Google Docs as a word processor for everything from emails to articles. Google Docs also has a built-in spell checker to help you improve your writing. The spell checker is adequate, but Grammarly provides better suggestions.
It was a premium-user-only beta feature for Google Docs until late 2020, but now it’s available to all users, both free and paid. So let’s look at how you can get started:
Installation
Open a Google Doc and click the Grammarly icon in the browser’s upper-right corner. Switch the Check for writing suggestions, and Grammarly will be available for use.
Grammarly, unlike Word, doesn’t have a dedicated Google Docs program. So, once you download the Chrome editor, you can also use it in your Google Docs documents.
Settings and Usage
When you open a Google Docs document, you’ll see the Grammarly icon in the bottom right corner. The Grammarly check is always active, but the suggestions are only visible if you click on the icon.
Note that that Grammarly for Docs is a beta version, meaning that you may encounter problems, such as the app freezing. Nevertheless, it still provides exceptional edits and suggestions.
Moreover, Grammarly highlights any suggestions with a red underline as you type. Hovering over the underline reveals the recommendations. In addition, the Grammarly icon in the lower-right corner will turn red once it identifies any mistake (there will also be a number assigned to it).
Click the Grammarly icon to open the Grammarly Sidebar and see the detailed suggestions.
In addition, Grammarly enables you to set writing goals. You can set objectives for your audience, intent, formality, and domain. You’ll have different options for each goal depending on whether you’re a free or premium user.
Wrapping Up
Grammarly detects punctuation, grammar, and spelling errors. However, it also helps you produce clear, convincing pieces.
And now that you know how to use Grammarly and everything else you need to know about it, you can start using the best writing assistant to help you improve your writing style.
FAQ
How much is Grammarly for students?
Grammarly doesn’t have any special offers for students. Like everyone else, students can use the editor for free. Those who don’t like the limitations that come with the free version, can pay $12.00 per month for Grammarly Premium.
That said, Grammarly has a business plan for educational institutions such as universities and colleges. In addition, the online editor offers many fantastic deals and coupons to help everyone save some money.